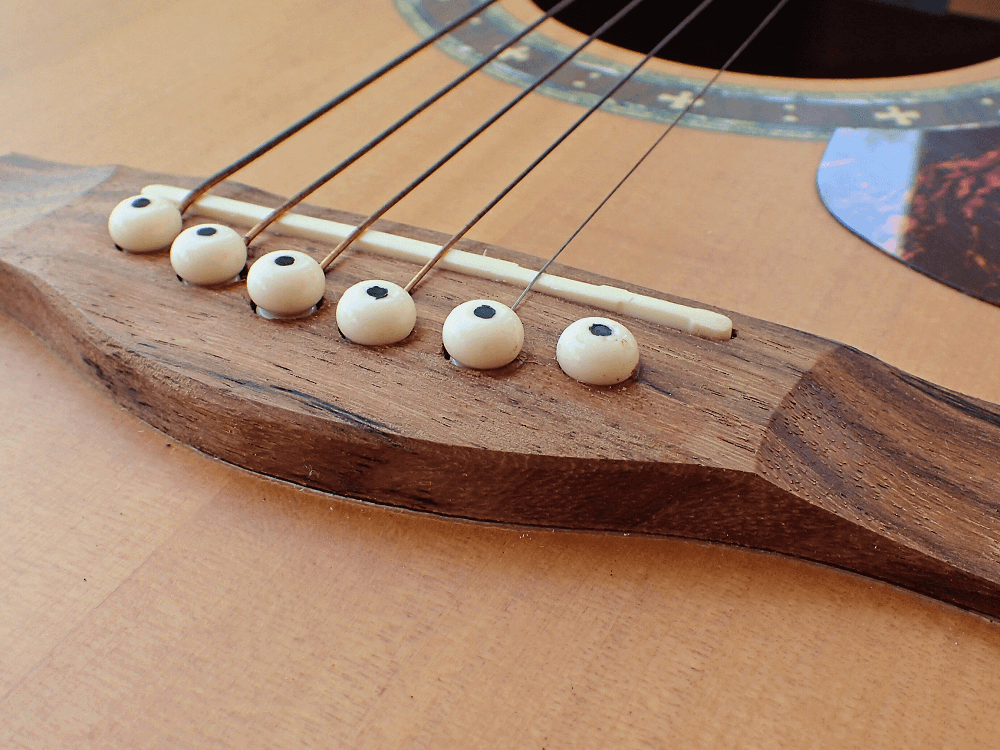
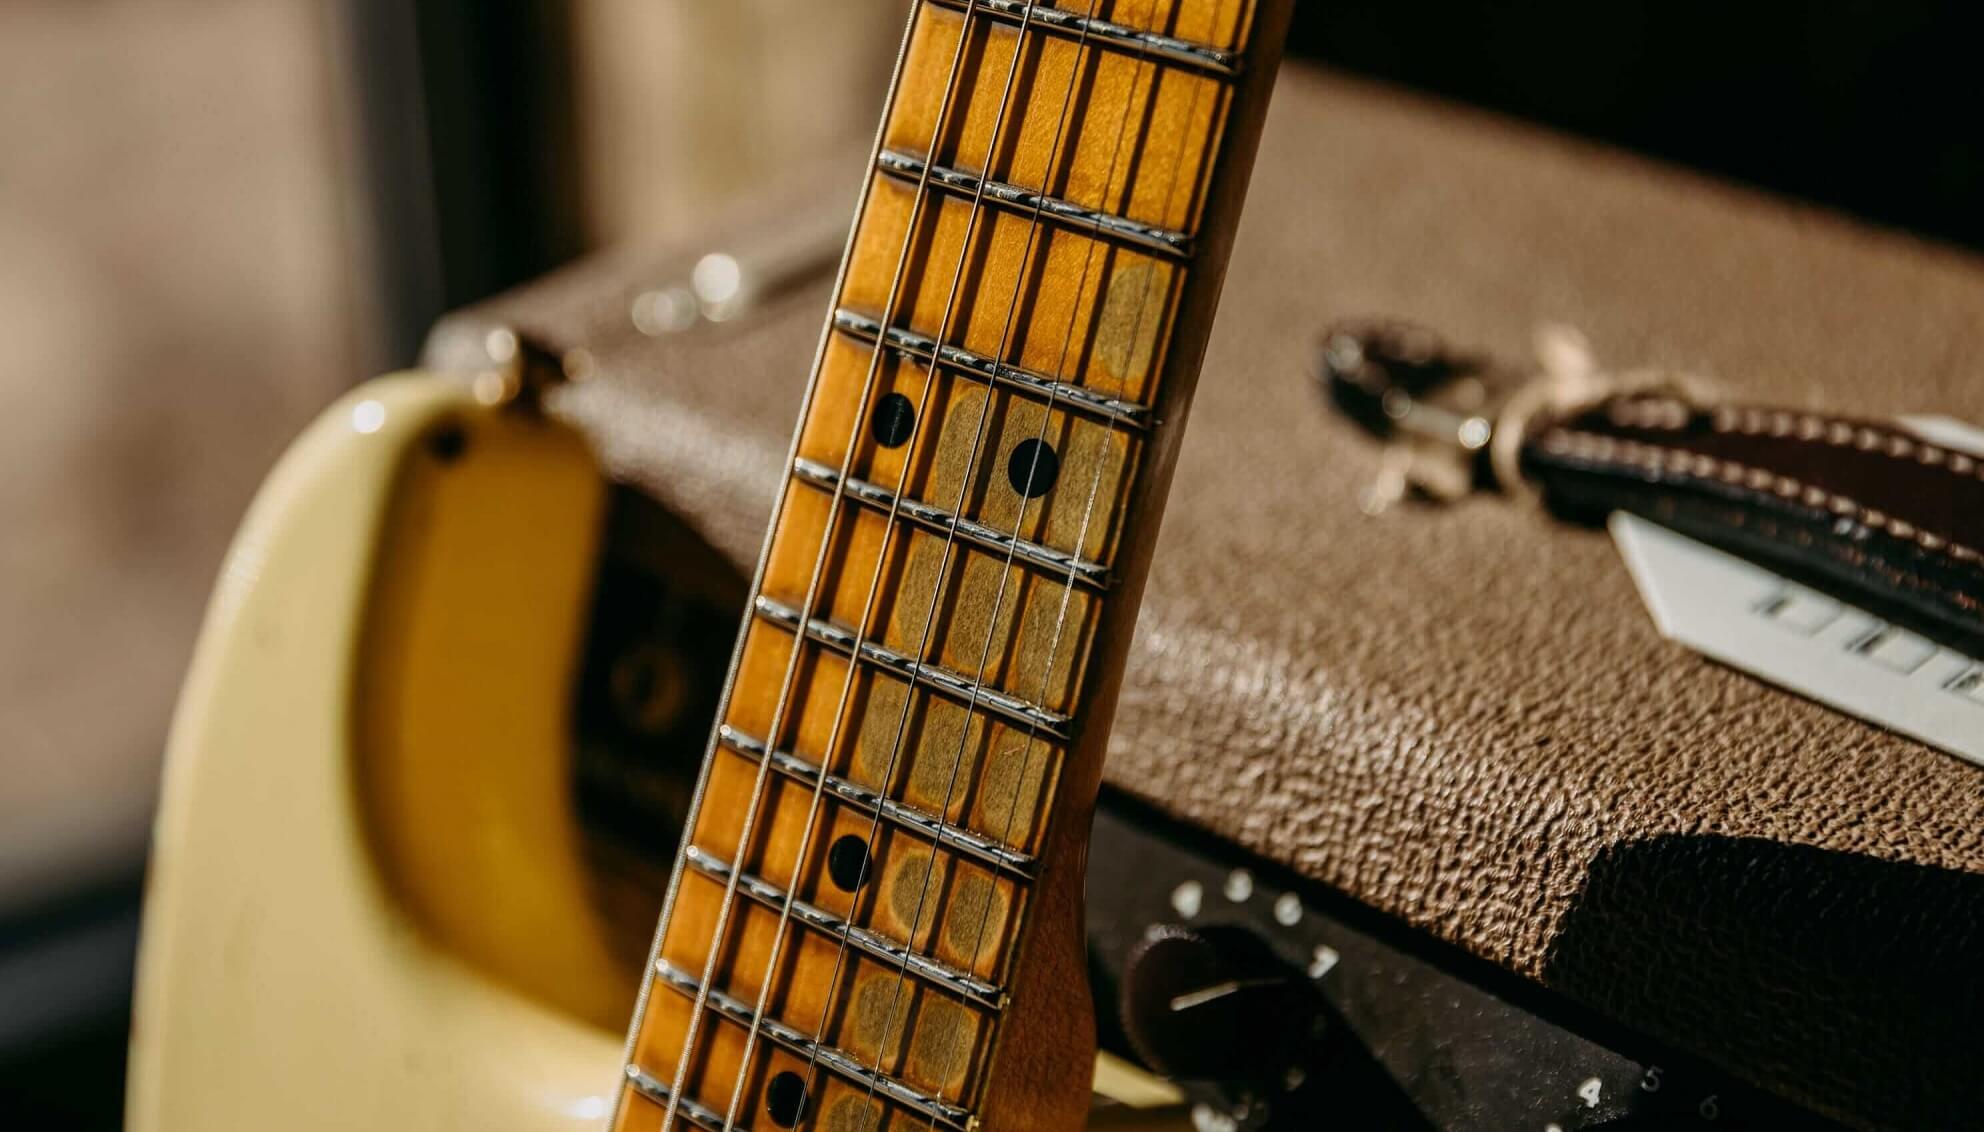
How do you even remove and fix all broken guitar bridge pins on your guitar?
If your guitar’s bridge pins are broken, it can be a real pain to try and fix them.
Not only do you have to worry about the pins themselves, but also the bridge and the strings.
If they’re stuck in the guitar, it can be even harder since you don’t want to damage the instrument.
However, with a little bit of patience and some careful work, you can remove and fix broken guitar bridge pins relatively easily.
In this blog post, we’ll show you how to do it step by step, plus we’ll answer some of the most frequently asked questions on this topic:
Table of Contents
- Removing Broken Guitar Bridge Pins
- Step by Step: Fixing Broken Guitar Bridge Pins
- 1. Start by preparing the work area and gathering all the necessary tools
- 2. If the broken pin is divided into two pieces, start by gluing them back together
- 3. Once the glue is dry, proceed to sand down the entire pin
- 4. Put the strings back and reinsert the pin into the guitar
- 5. Carefully tune the guitar and check that the pin is holding
- How often should you replace your guitar’s bridge pins?
- Do bridge pin materials change a guitar’s sound?
- The Different Types of Guitar Bridge Pins
- How tight should your guitar bridge pins be?
- How to properly take care of your guitar bridge pins?
Removing Broken Guitar Bridge Pins
The short answer is that you’ll need to use a pair of pliers to carefully remove the broken pin from the guitar. Take out all the strings first so that there’s no tension on the pin and enough space for you to work. Start by gently pushing on the broken pin with the pliers until it starts to move out of the hole. If it’s really stuck, you can try wiggling it back and forth a bit until it comes loose.
If you can’t grab it with the pliers, or if the pin is completely broken and there’s nothing to grab onto, then try from the inside of the guitar.
Use a small mirror or your fingers to look or feel inside the soundhole and locate the broken pin.
Once you find it, start pushing it out from the inside with the back side of a screwdriver, a small hammer, or an object with a flat surface.
If the inside of the hole is damaged, you’ll need to repair it before proceeding since the new pin won’t be able to grip properly.
Let’s take a look at this YouTube video so that we can visualize this process better:
As you can see, doing this is pretty straightforward.
You can either apply force to it until it comes out or just tap/hit it until it’s loose enough that it goes out.
Step by Step: Fixing Broken Guitar Bridge Pins
Attempting to fix a broken guitar pin, can be a bit tricky.
It all depends on the severity of the damage and how much of the pin is still intact.
For example, if the broken pin is divided in half, then you can glue them back together before proceeding.
If the pin is only lightly bent or damaged, you can try to straighten it out with a pair of pliers.
Additionally, where exactly it’s broken also matters.
If the pin is broken at the point where it enters the bridge, then it’ll be much harder to fix.
If it’s broken near the top, then you have a better chance of being able to salvage it.
Once you’ve determined that the pin is indeed repairable, proceed with the following steps:
1. Start by preparing the work area and gathering all the necessary tools
You’ll need some tools, which include:
- Small hammer
- Pair of pliers
- Super glue
- Sandpaper
It’s also a good idea to find something that will aid you in holding the pieces together while the glue dries.
In most cases, you holding the pieces is enough, but if you want to give it extra time to dry out, then this could help.
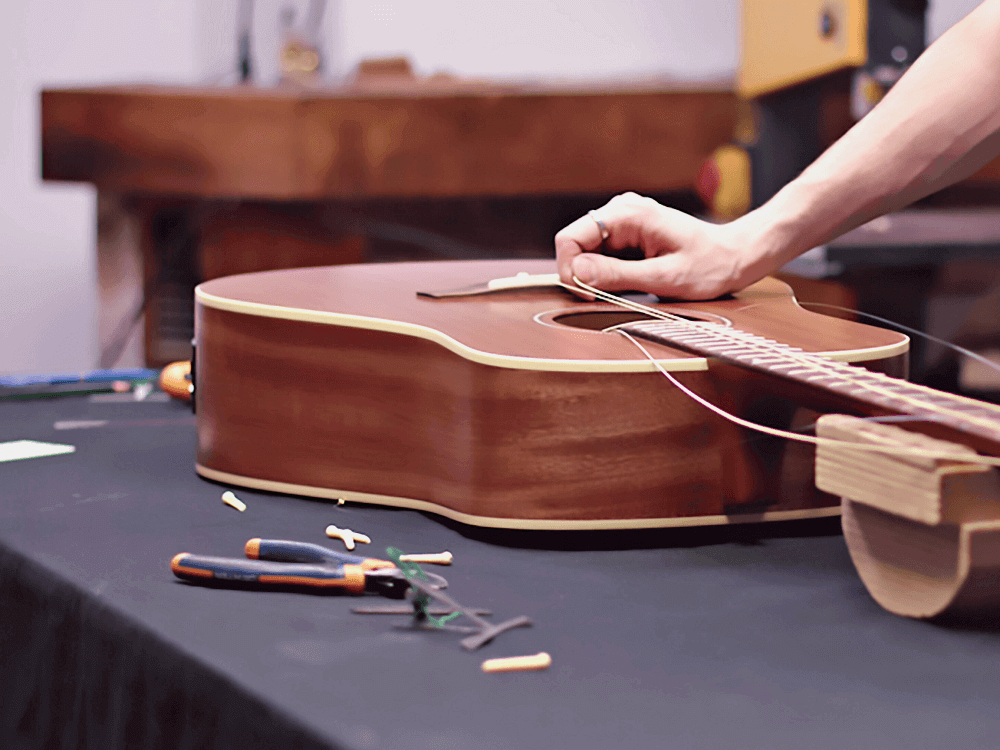
Also, it goes without saying that protecting your guitar body, neck, etc. it’s as important.
So make sure to place it somewhere where no accidents are likely to happen.
2. If the broken pin is divided into two pieces, start by gluing them back together
For this step, you can use super glue to glue the pieces of the pin back together.
Of course, be careful not to get any on your hands or clothes!
A quick tip that I can give you is to use a toothpick to apply the glue to the surface of the pin.
This way, you can be more precise and avoid making any messes.
Once the glue is in place, hold the two pieces together until it dries completely.
You should wait for as long as the glue manufacturer recommends before moving on to the next step.
3. Once the glue is dry, proceed to sand down the entire pin
This step is crucial to make sure that when done, the pin can actually enter the hole on the guitar bridge.
Start by using lower grit sandpaper and work your way up to a higher one.
This will help remove any excess glue and make the surface of the pin nice and smooth.
Of course, be careful not to sand too much or you’ll risk making the pin too small to fit in the hole.
4. Put the strings back and reinsert the pin into the guitar
Now that the pin is fixed, it’s time to reinsert it into the guitar.
First, put all the strings back on and make sure they’re in the correct order.
Then, take the pin and insert it into the hole on the bridge.
Line up the pin with the hole in the bridge and gently tap it in with the hammer until it’s seated all the way.
I’m saying a hammer, but really anything that can apply a consistent force will work just fine.
If it’s a tight fit, you may need to use a bit of force, but be careful not to damage the pin or the hole.
Once the pin is in, give the guitar a tune-up and you’re good to go!
5. Carefully tune the guitar and check that the pin is holding
Now that you’ve inserted the new pin, it’s time to tune up the guitar and make sure that everything is working properly.
Start by tuning each string one at a time until they’re all in tune; do this as slow as you need to in order to avoid breaking the strings or in this case the pins.
As you tune each string, check that the pin is holding it in place and isn’t moving around.
If everything looks good and the pin is holding tight, then congratulations!
You’ve successfully fixed a broken guitar bridge pin.
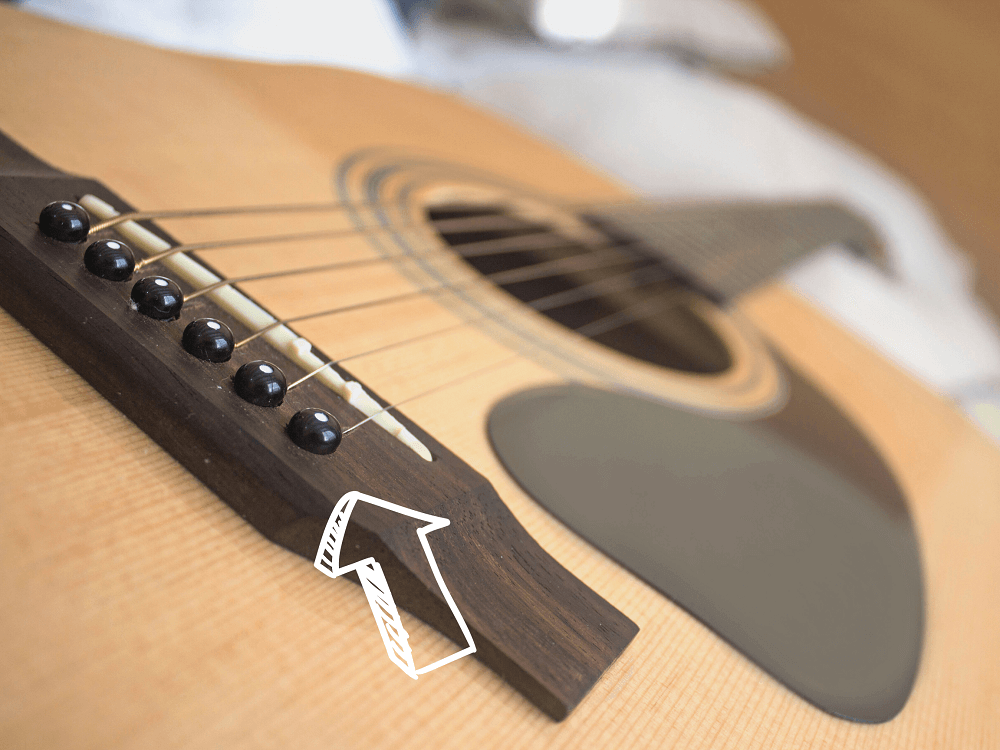
Keep in mind that this is a temporary fix, and it’s best to replace the pin entirely if possible.
But if you’re in a bind and you don’t have a replacement pin on hand, this should do the trick
How often should you replace your guitar’s bridge pins?
This really depends on how often you play and how well you take care of your instrument.
If you play a lot, or if the pins seem to be getting loose frequently, then you might want to replace them every few months or so.
Otherwise, at most once a year should be fine!
Ideally, pins should last you more than 1-3 years if you take care of them.
They’re just not one of those things that need to be replaced constantly.
Do bridge pin materials change a guitar’s sound?
Yes, they can! Different materials will produce different sounds.
For example, plastic pins tend to have a brighter sound, while steel and brass pins have a warmer sound.
It’s a very small difference, and most people won’t be able to hear it, but it’s there.
If you’re looking for a specific sound, then experiment with different materials until you find the one you like best.
I encourage you to watch this YouTube video by Taylor Guitars in which they also give their thoughts on this topic:
As you can see, there’s a lot to consider when it comes to choosing the right guitar bridge pins.
But don’t worry, just take your time, do your research, and experiment until you find the perfect set for your instrument.
The Different Types of Guitar Bridge Pins
The most common types of guitar bridge pins are:
- Plastic bridge pins
- Steel bridge pins
- Brass bridge pins
- Bone bridge pins
Each type of pin has its own advantages and disadvantages.
Plastic bridge pins are the cheapest and most common type.
They’re easy to find and replace, but they’re not as durable as metal pins and they can break more easily.
Steel bridge pins are more expensive than plastic pins, but they’re also more durable.
They’re less likely to break and they provide a better grip for the strings, which can improve the sound of your guitar.
Lastly, bone and brass bridge pins are the most expensive type of pins, but they offer the best durability and sound quality.
Brass is likely to break and they provide a richer, fuller sound
Which one should you choose? You might be thinking…
Well, it depends on your budget and your needs.
If you’re a beginner, plastic pins are a good option since they’re cheap and easy to replace.
On the other hand, if you’re more experienced, or if you want better sound quality, then steel or brass pins are a better choice.
How tight should your guitar bridge pins be?
The bridge pins should be tight enough that the strings are held in place, but not so tight that they’re difficult to remove.
If you can’t remove the pin with your fingers and a bit of pressure, it’s probably too tight.
One of the best ways to determine the right amount of pressure is to lightly tap the top of the pin with a hammer.
If it makes a clear, ringing sound, it’s just tight enough, if it sounds dull or muted, it’s too tight.
Covering the pins with a cloth and using a small hammer to tap it until it’s tight can also help and is not a bad idea at all.
How to properly take care of your guitar bridge pins?
Taking care of your guitar bridge pins is important if you want them to last.
Although this isn’t something you need to do every day, there are a few things you can do to prolong their life and keep them in good condition.
Here are a few tips that will help you take care of your guitar bridge pins:
1. Inspect your pins regularly
The first thing you should do is inspect your guitar bridge pins regularly.
Look for any signs of wear and tear, such as cracks, chips, or anything that looks out of the ordinary.
If you notice anything wrong, replace the pin immediately or be aware that it could break sooner rather than later.
2. Keep them clean and free of dirt and debris
You might think that because guitar bridge pins are small, they don’t need to be cleaned often.
However, it’s actually very important to keep them clean and free of dirt and debris.
Dirt and debris can build up over time and cause the pins to become damaged or broken.
To clean your guitar bridge pins, simply use a soft cloth and some mild soap and water.
Be sure to dry them completely before putting them back in the guitar.
3. Use the right type of pin for your guitar
There are different types of guitar bridge pins, so you must use the right type for your guitar.
If you’re not sure which type of pin to use, consult with a professional or the manufacturer of your guitar.
Especially when buying new pins, be sure to get the right size, material, and style.

One of the reasons why this is important is that some pins are made to be used with certain types of strings and your guitar has its bridge pins holes drilled to a specific depth.
So if you use the wrong type of pin, it can cause the string to sit too high or too low on the bridge and impact the sound and playability of your guitar.
4. Don’t overtighten them when installing or removing strings
When you’re installing or removing strings, be sure not to overtighten the guitar bridge pins.
Overtightening can damage the pin and the hole, making it difficult to remove the pin later on.
To avoid this, simply hand-tighten the pin until it’s snug, but don’t force it.
Also, when removing strings, be sure to hold onto the pin with one hand while you’re removing the string with the other.
This will prevent the pin from popping out, getting lost, and potentially damaging the hole.
5. Replace damaged or broken pins immediately
If a guitar bridge pin is damaged or broken, it’s important to replace it immediately.
A broken or damaged pin can cause the string to slip out of place, which can lead to serious problems.
In addition, if a pin breaks while you’re removing a string, it can fall into the body of the guitar and become lost, which can be very difficult to get after.
Additionally, if the pin is not positioned properly and you start playing, the string could come off, which not only damages the string but also puts you at risk for injury.
So again, if you notice any damage to your guitar bridge pins, be sure to replace them right away.
These are just a few tips to help you keep your guitar bridge pins in good condition.
By following these simple tips, you can prolong the life of your pins and keep your guitar sounding great for years to come.

Born and raised in Florida! I’ve been playing guitars for the past 5 years. Love to learn, and I’m always striving to achieve greater heights in music. Currently have a Fender Stratocaster as my main guitar.

